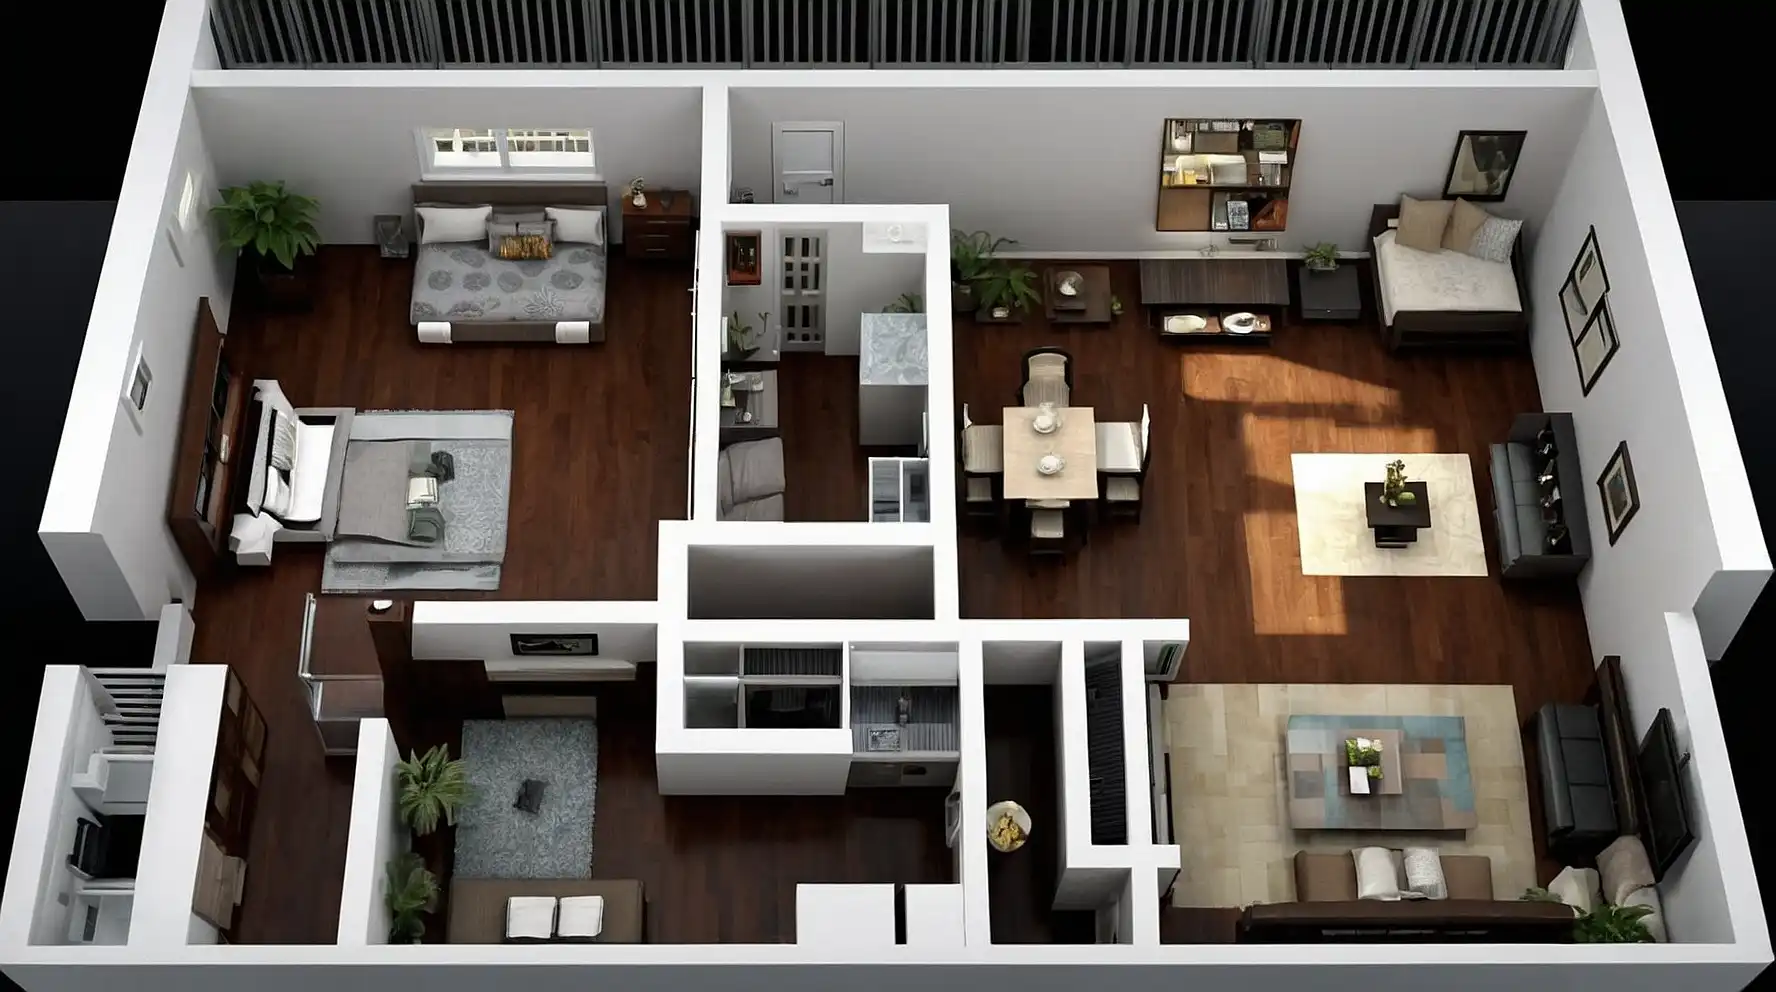
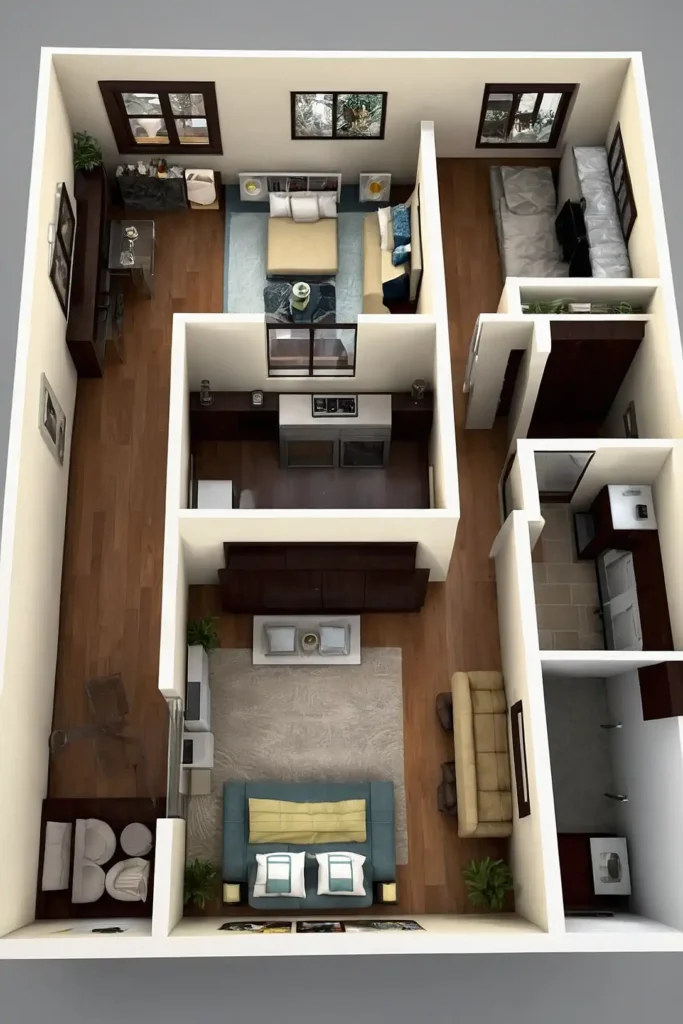
27 Genius Studio Apartment Layout Ideas That Maximize Every Square Foot
Studio apartment living challenges you to be creative with limited space.
With thoughtful planning, even the smallest studio can feel spacious, functional, and distinctly zoned for different activities.
The key lies in strategic furniture placement, multifunctional pieces, and creating visual separation without solid walls.
These techniques help define living areas while maintaining an open, airy feel.
These 27 layout ideas will help you transform your compact studio into a comfortable home that accommodates all your needs without feeling cramped or cluttered.
With these smart approaches, you’ll maximize every square inch while creating a space that feels much larger than its actual dimensions.
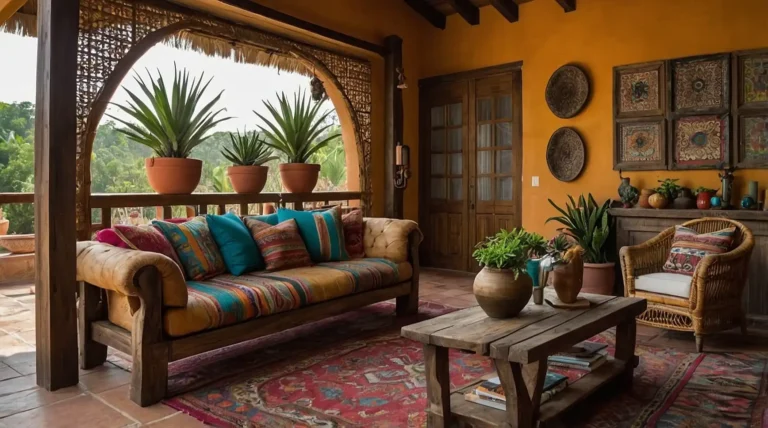
1: L-Shaped Living Zones
Position your sofa and bed in an L-configuration against adjacent walls to create naturally divided sleep and living areas.
This arrangement establishes distinct functional zones without partitions.
Place a coffee table in front of the sofa to anchor the living area.
The perpendicular layout creates natural traffic flow while maintaining separation between relaxing and sleeping spaces, essentially creating “rooms” within your open plan.
2: Central Room Divider

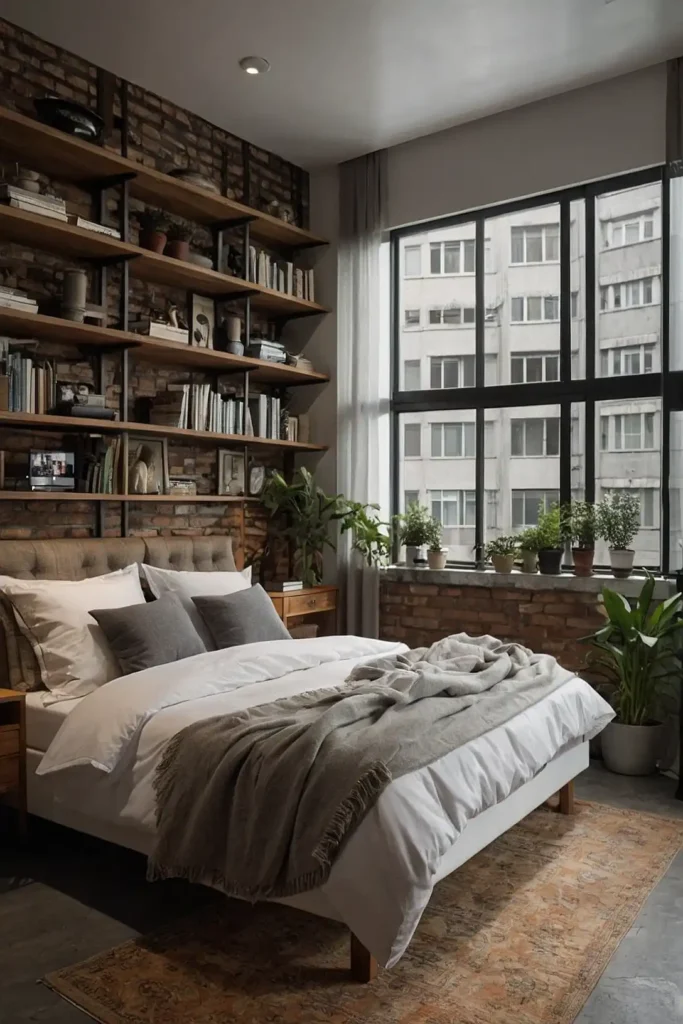
Install a partial-height bookcase perpendicular to your walls to divide your studio into separate zones while maintaining openness.
This strategic barrier creates definition without blocking light or airflow.
Position the unit to separate living from sleeping areas while using its shelves for both storage and display.
The see-through nature preserves the open feeling while the physical presence establishes distinct areas for different activities.
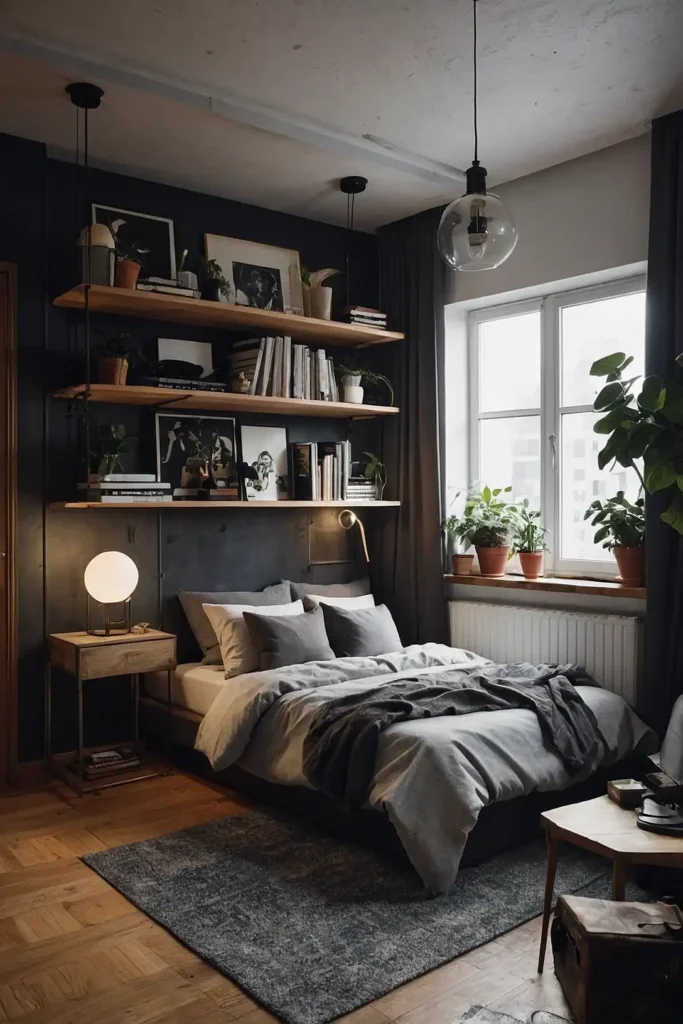
3: Elevated Sleeping Platform
Build or purchase a raised platform for your bed area to physically separate it from the rest of your studio.
This vertical division creates a psychological sense of entering a different room.
Use the space beneath for pull-out storage drawers or cubbies.
The height difference automatically designates the sleeping zone as separate from living areas while providing substantial hidden storage that doesn’t consume additional floor space.
4: Circular Conversation Area
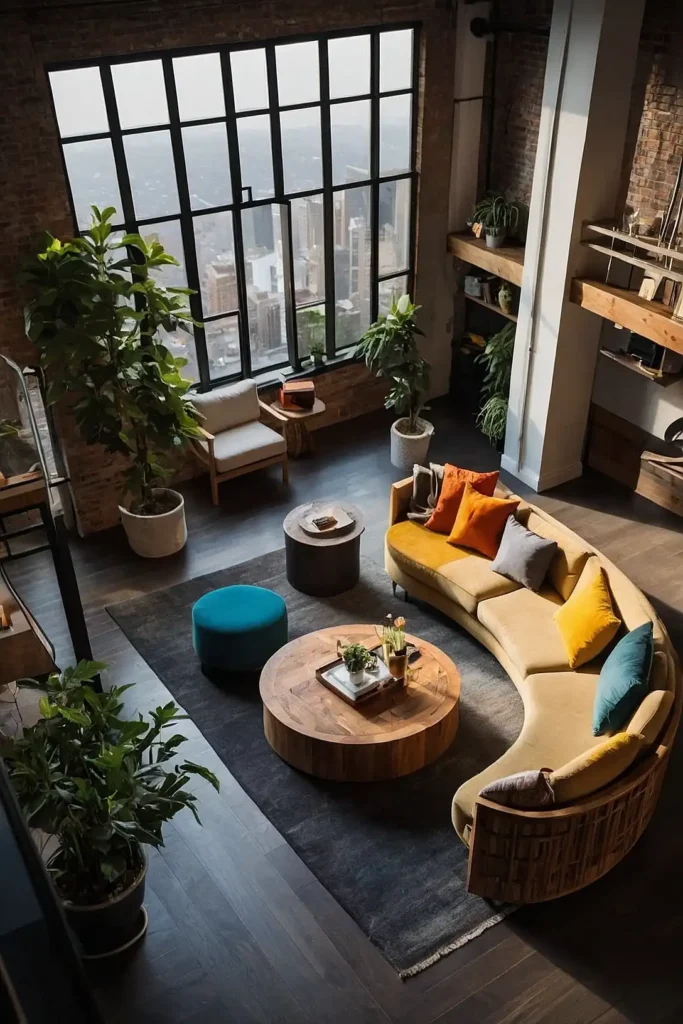
Arrange your living room furniture in a circular formation around a round coffee table to create a defined social zone separate from other areas.
This arrangement establishes a distinct activity area through furniture placement alone.
Choose appropriately scaled pieces that don’t overwhelm the space.
The rounded arrangement naturally draws people together while the absence of sharp corners improves flow in tight quarters.
5: Window-Focused Layout
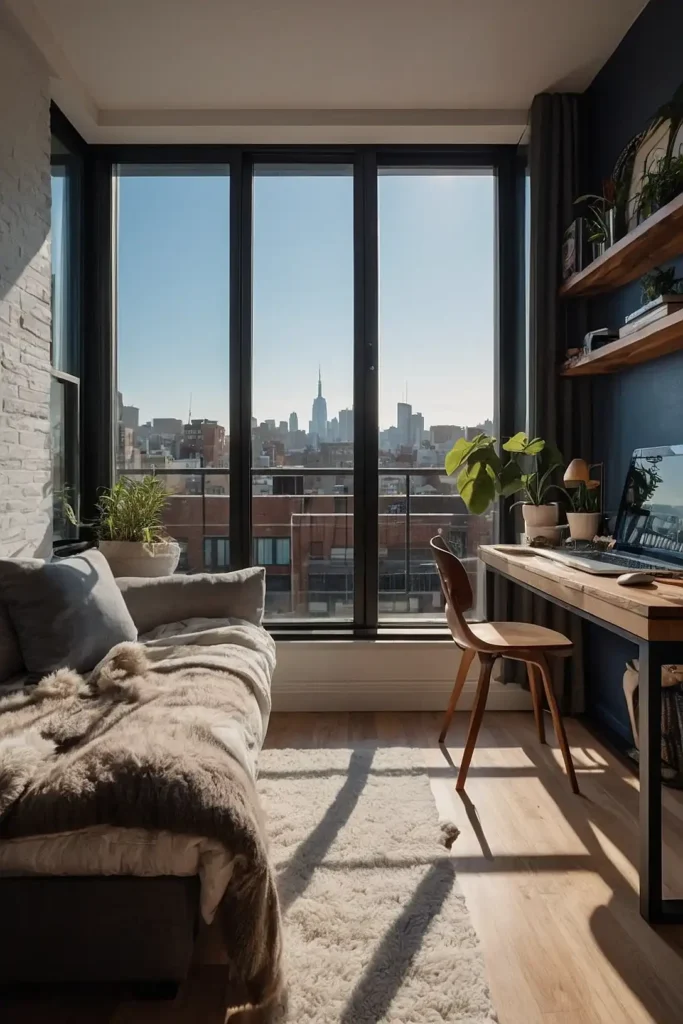
Orient your furniture arrangement to highlight your studio’s windows, using them as natural focal points.
This approach maximizes natural light while creating a more spacious feeling.
Position your desk or dining table directly in front of a window for inspiring views.
The strategic placement connects your interior with the outside world, visually expanding your space beyond its physical boundaries.
6: Murphy Bed Installation
Install a wall bed that folds away when not in use to instantly transform your sleeping area into living space during waking hours.
This classic space-saving solution effectively gives you an extra room.
Choose models with integrated shelving or desks for maximum functionality.
The flexibility allows your studio to function as a full living room by day and comfortable bedroom by night without permanent space allocation.
7: Curtained Sleeping Alcove
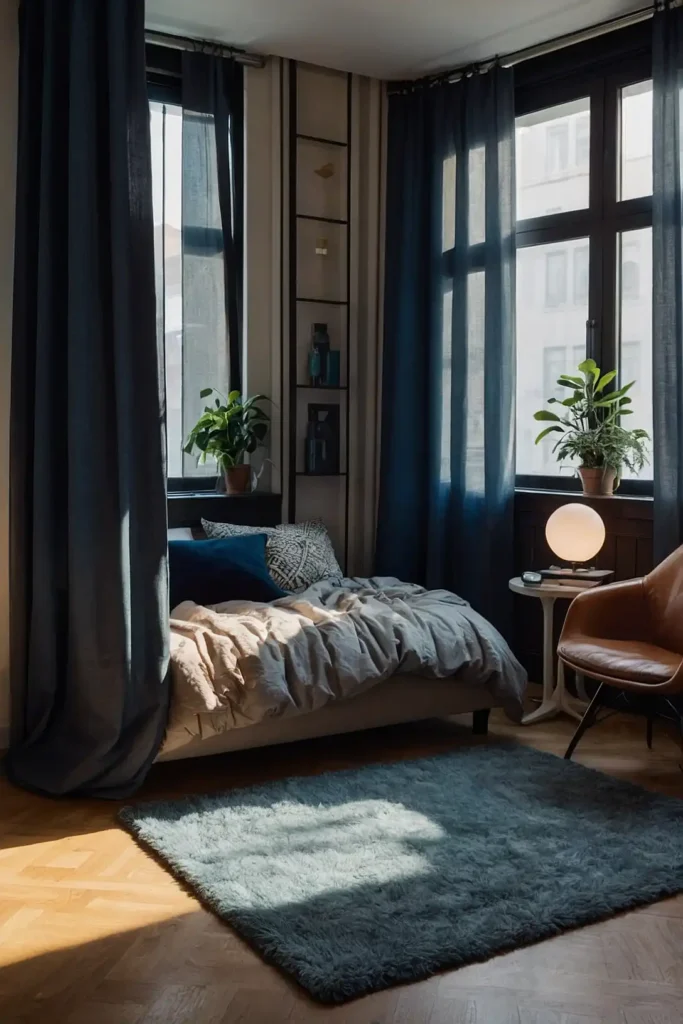
Hang ceiling-mounted curtain tracks to create a sleeping area that can be concealed or revealed as needed.
This flexible division costs significantly less than permanent structures while offering privacy when desired.
Select light-filtering fabrics that allow some light through while providing privacy.
The soft barrier creates intimacy around your bed while the ability to open curtains fully maintains the open-plan advantage when preferred.
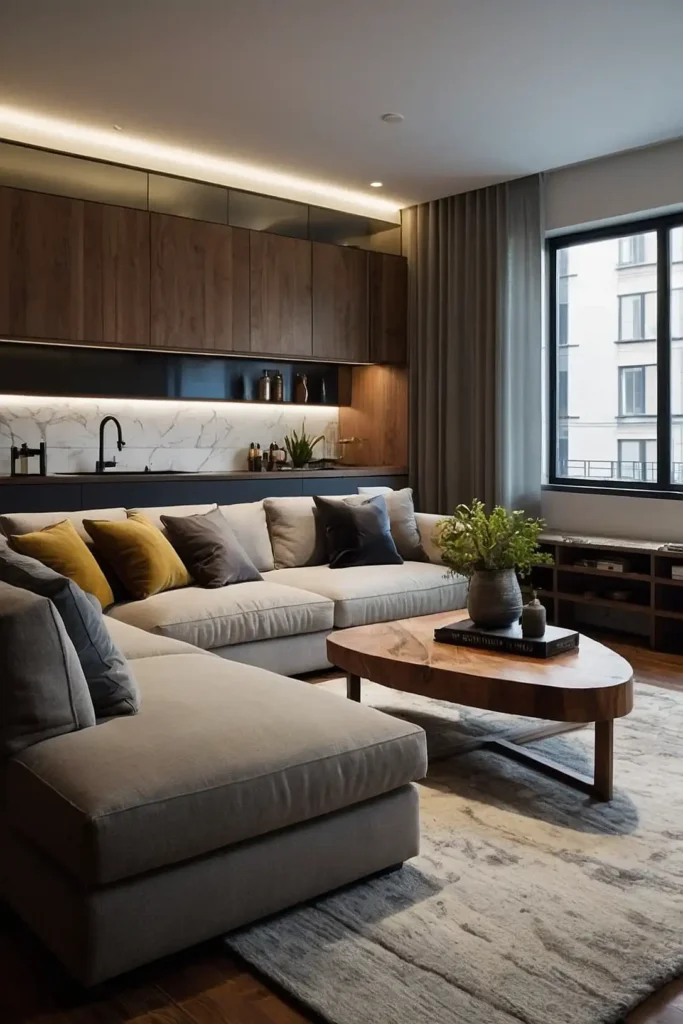
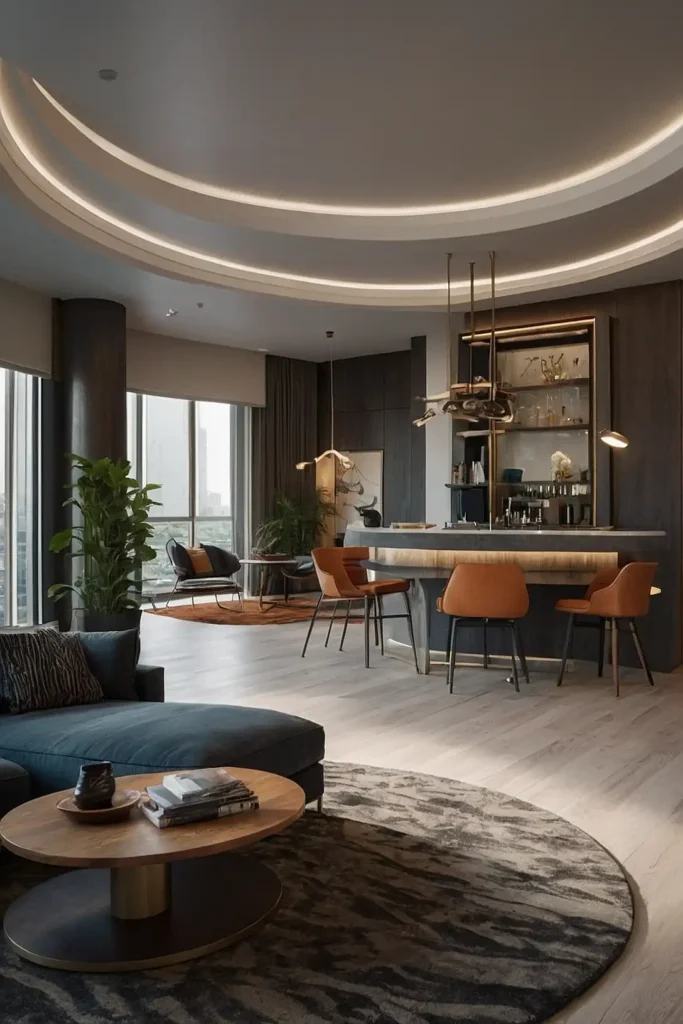
8: Kitchen Island Transition
Use a kitchen island or peninsula as a natural divider between cooking and living spaces.
This functional boundary doubles as both workspace and transition marker.
Add barstool seating along one side to create a dining area.
The multipurpose surface serves as prep space, dining table, work desk, and visual barrier that helps define your kitchen from adjacent living areas.
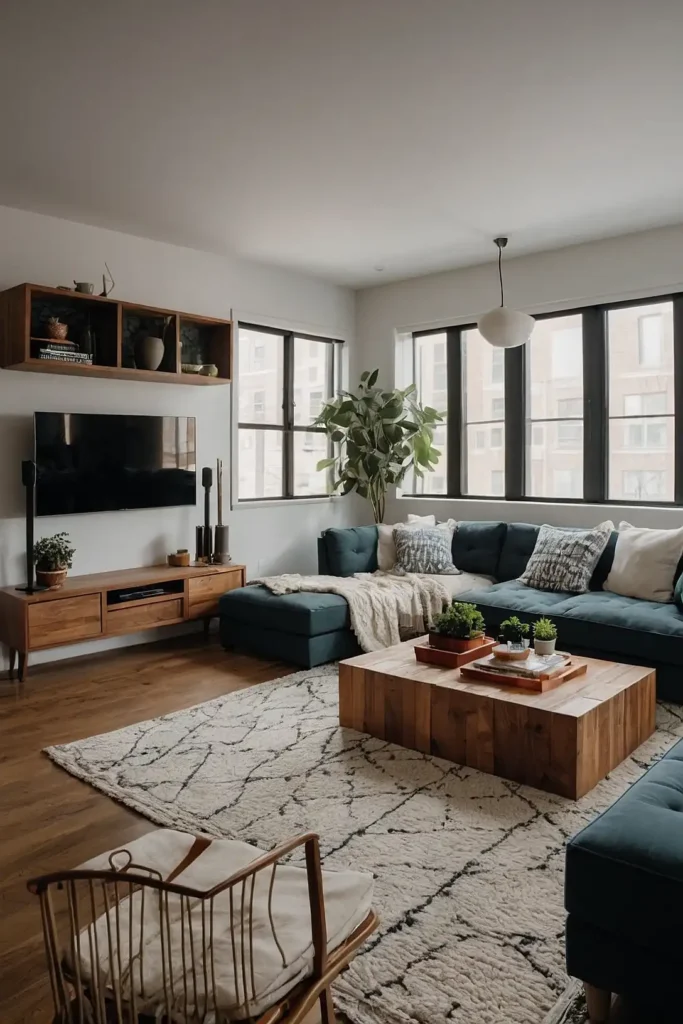
9: Sofa as Room Divider
Position your sofa in the middle of the room with its back creating a natural hallway to your sleeping area.
This strategic placement establishes zones without additional furniture.
Place a narrow console table behind the sofa to define the pathway even more clearly.
The arrangement creates the sense of moving between separate rooms while the sofa back acts as a visual barrier between living and sleeping spaces.
10: Corner Sleeping Nook
Tuck your bed into a corner and surround it with tall bookshelves to create a semi-enclosed sleeping nook.
This arrangement carves out a cozy bedroom-like space within your studio.
Add a canopy or wall-mounted curtains for additional enclosure and ambiance.
The strategic placement maximizes floor space in the rest of your studio while creating a sense of privacy around your bed.
11: Diagonal Furniture Arrangement
Place furniture at 45-degree angles to the walls to create dynamic pathways and visually separate functional areas.
This unexpected approach breaks up the boxy feeling common in studios.
The diagonal lines create triangular zones that naturally define different activity areas.
This layout technique makes your studio feel more spacious by creating longer sight lines and more interesting visual flow than parallel arrangements.
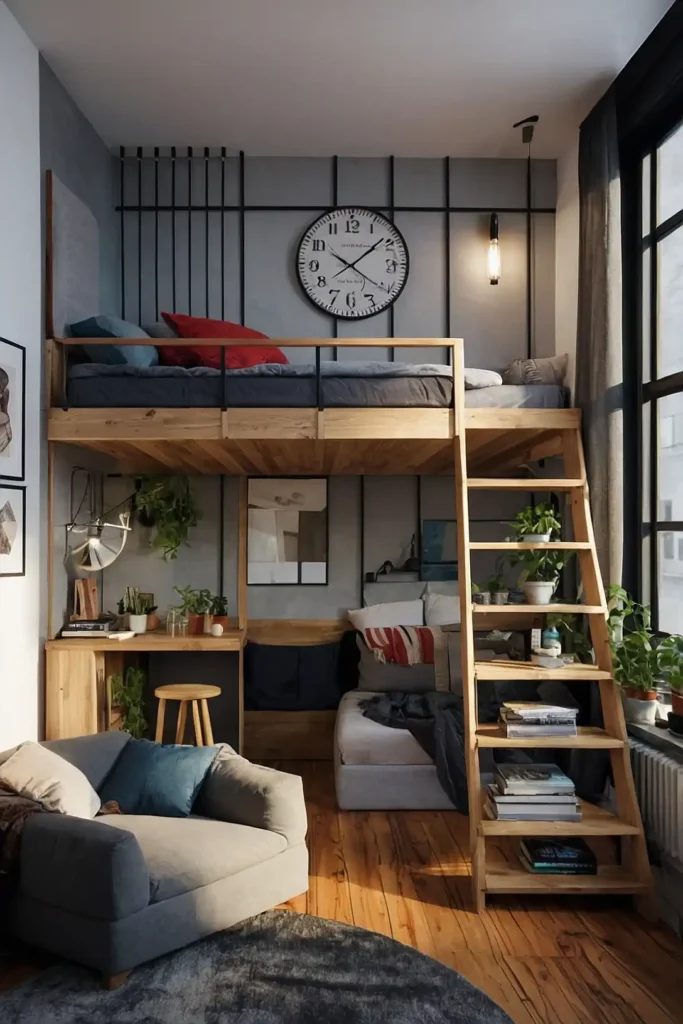
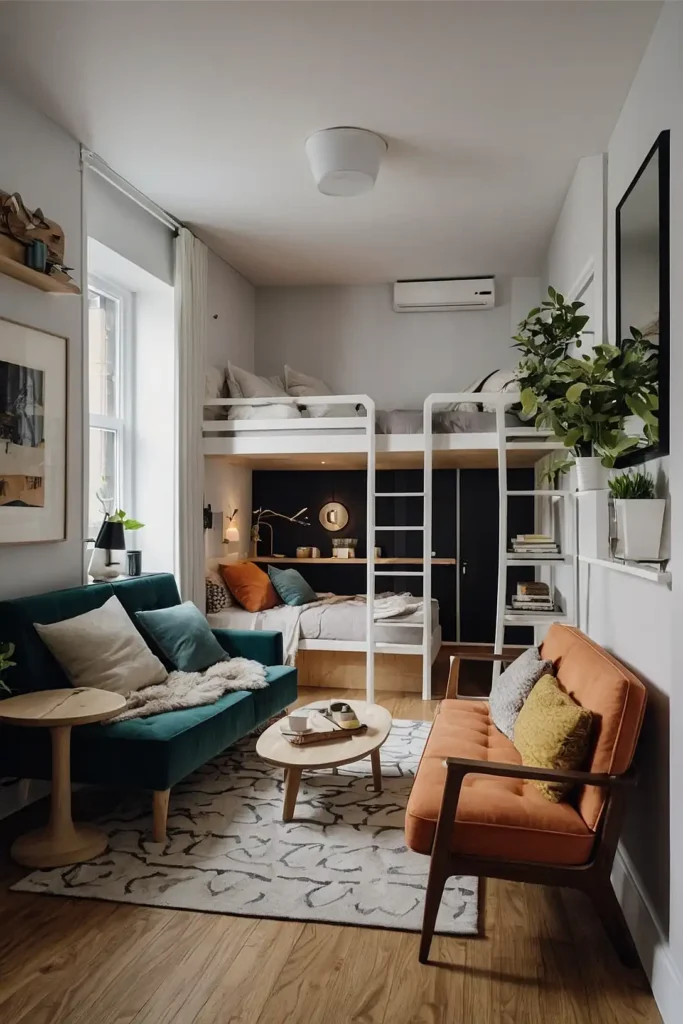
12: Loft Bed Maximization
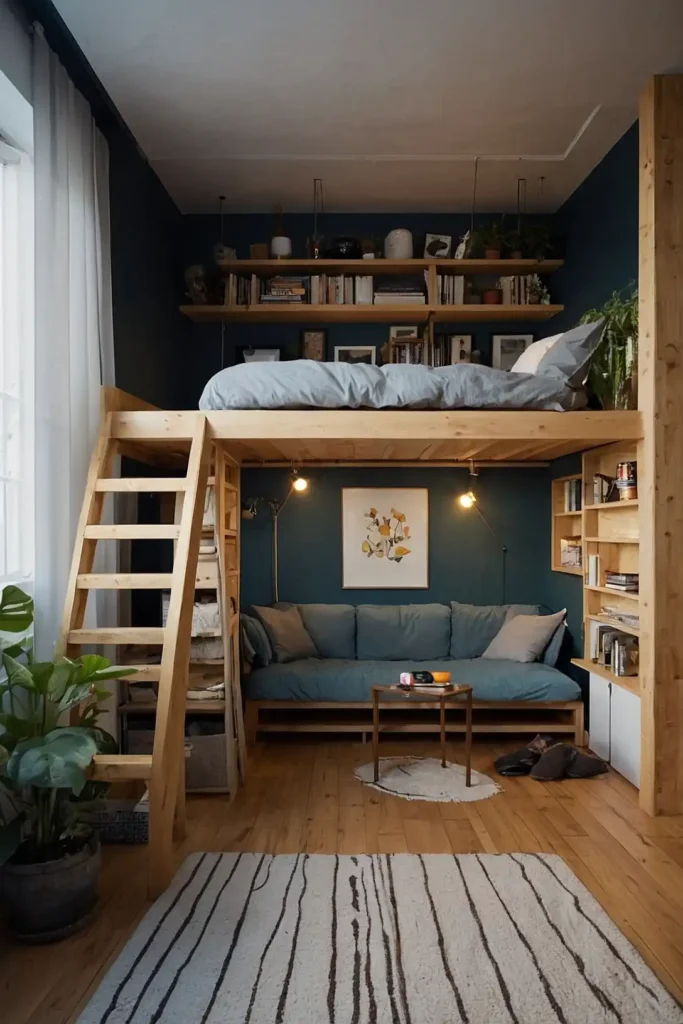
Install a loft bed with your living area positioned underneath to utilize vertical space.
This stacking approach essentially creates two rooms within the same footprint.
Include a small seating area or desk beneath the elevated bed platform.
The vertical arrangement doubles your usable square footage by allowing the same floor space to serve two distinct functions.
13: Sliding Panel System

Mount sliding panels from ceiling tracks to create adaptable room divisions that can be opened or closed as needed.
This flexible system offers more substantial division than curtains while remaining completely adjustable.
Choose panels in materials that complement your décor, from frosted plexiglass to decorative wood.
The movable nature allows you to completely transform your studio’s layout in seconds, adapting to different needs throughout the day.
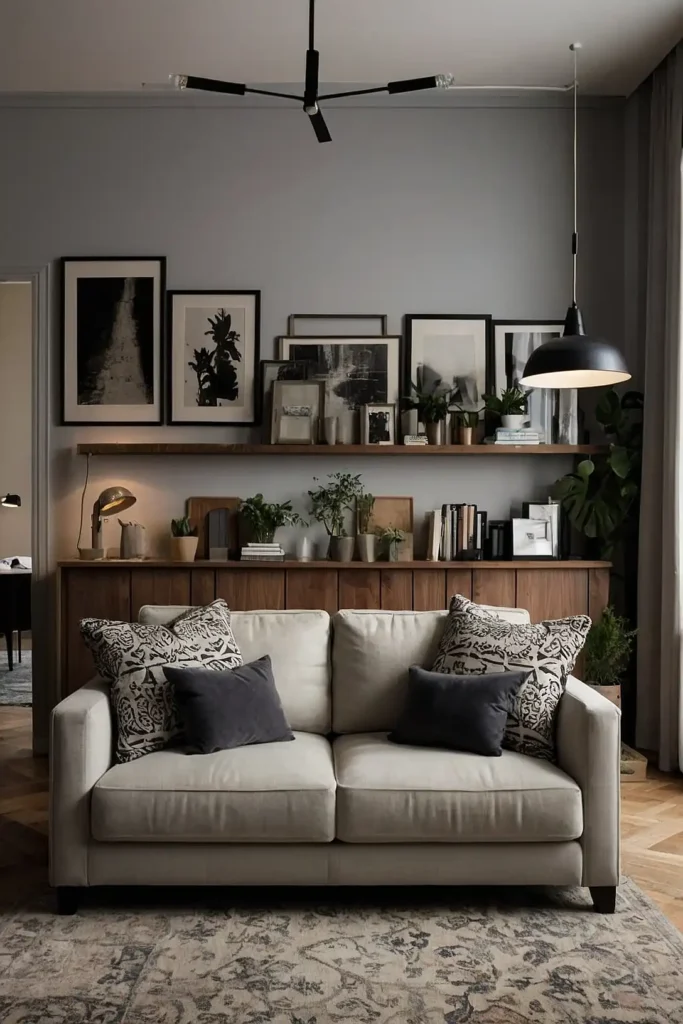
14: Furniture Focal Point
Arrange your layout around one statement furniture piece that anchors the space and establishes the room’s orientation.
This central focus creates order in a small footprint.
Select something meaningful like a distinctive sofa or beautiful dining table.
The focal arrangement creates a sense of intentional design rather than cramped necessity, making your studio feel curated rather than compromised.
15: Modular Furniture System
Invest in a comprehensive modular furniture system designed specifically for small spaces that can be reconfigured as needed.
These specialized pieces adapt to changing requirements without replacing everything.
Look for components that serve multiple functions like storage ottomans or expanding tables.
The flexibility allows your studio to evolve with your needs while maintaining a cohesive aesthetic throughout all elements.
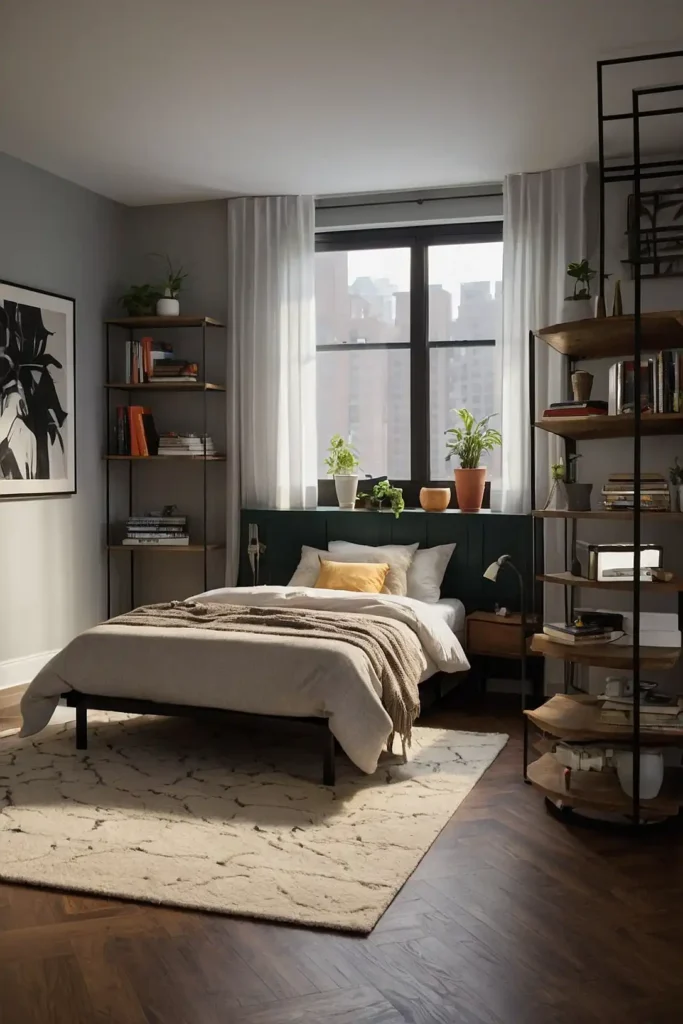
16: Backless Shelving Divider
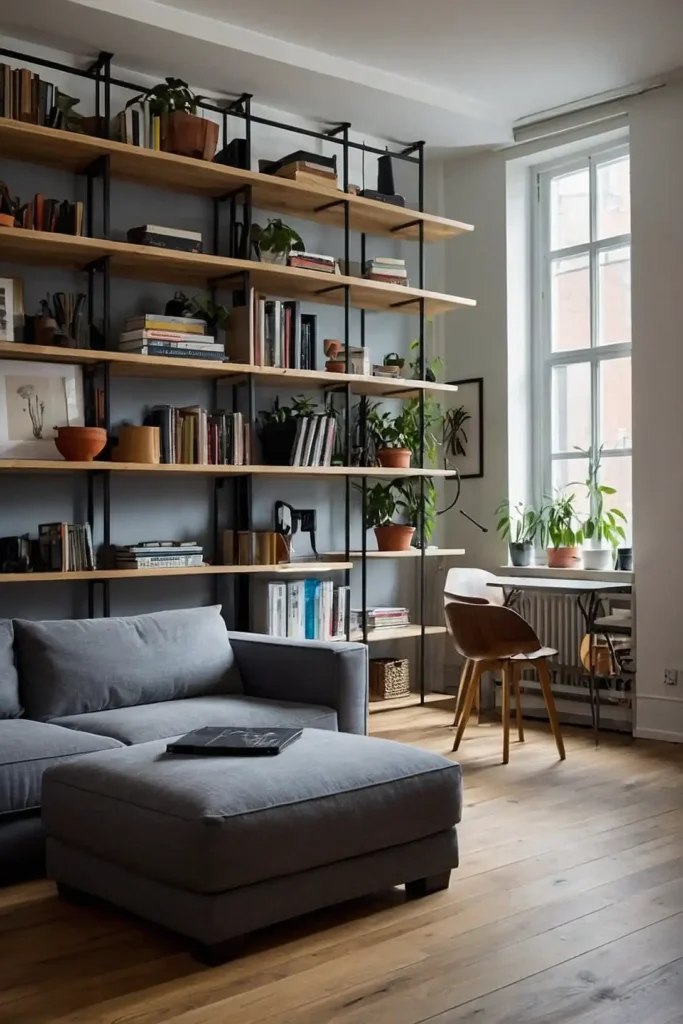
Place a backless bookcase between areas to create visual separation while allowing light to pass through.
This airy divider maintains openness while still defining distinct zones.
Arrange items strategically, leaving some shelves partially empty for greater transparency.
The see-through quality preserves sight lines across your entire studio while still providing both storage and psychological division between functional areas.
17: Multipurpose Table Placement
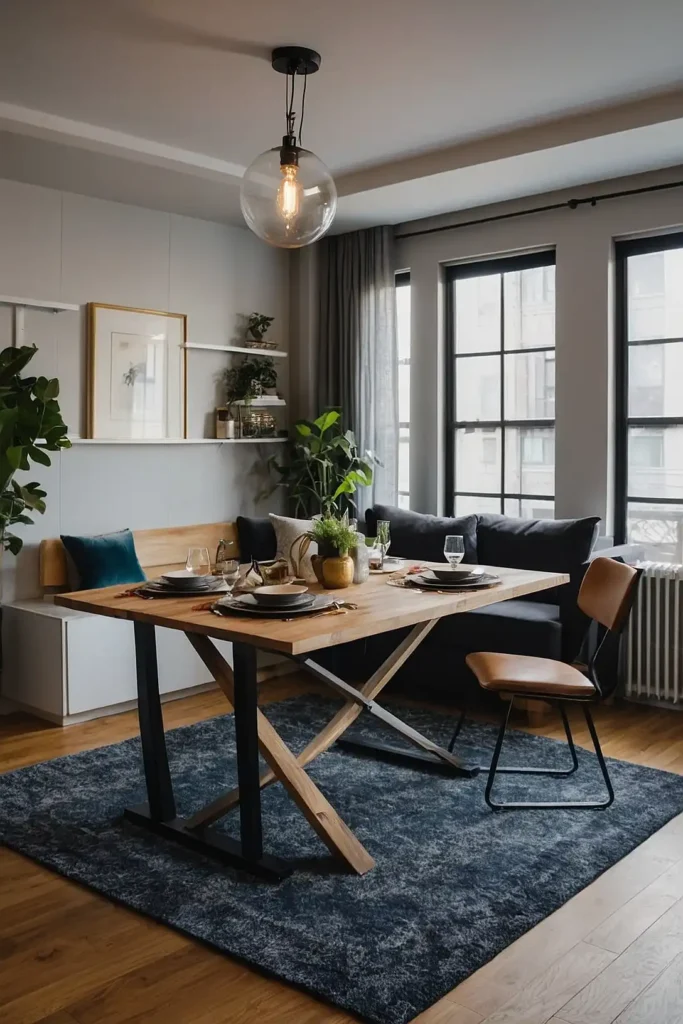
Position a dining table that doubles as a desk in a transitional area between kitchen and living spaces.
This multifunctional piece serves as both divider and workhorse.
Choose a design that visually complements both zones it borders.
The strategic placement maximizes utility while helping define the flow between different functional areas of your studio.
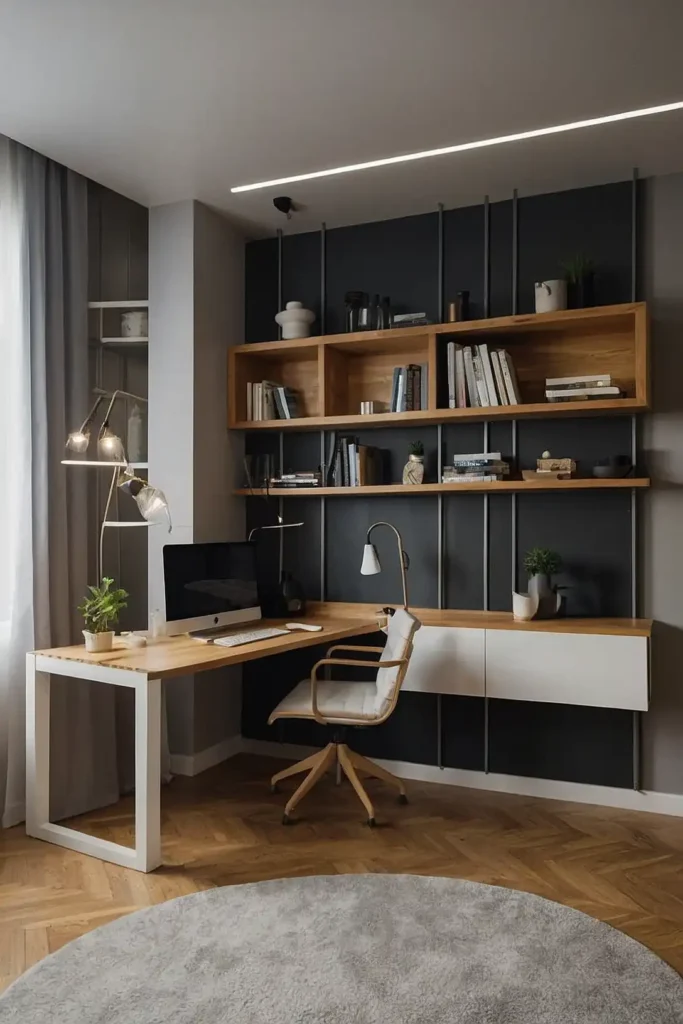
18: Wall-Mounted Workspace
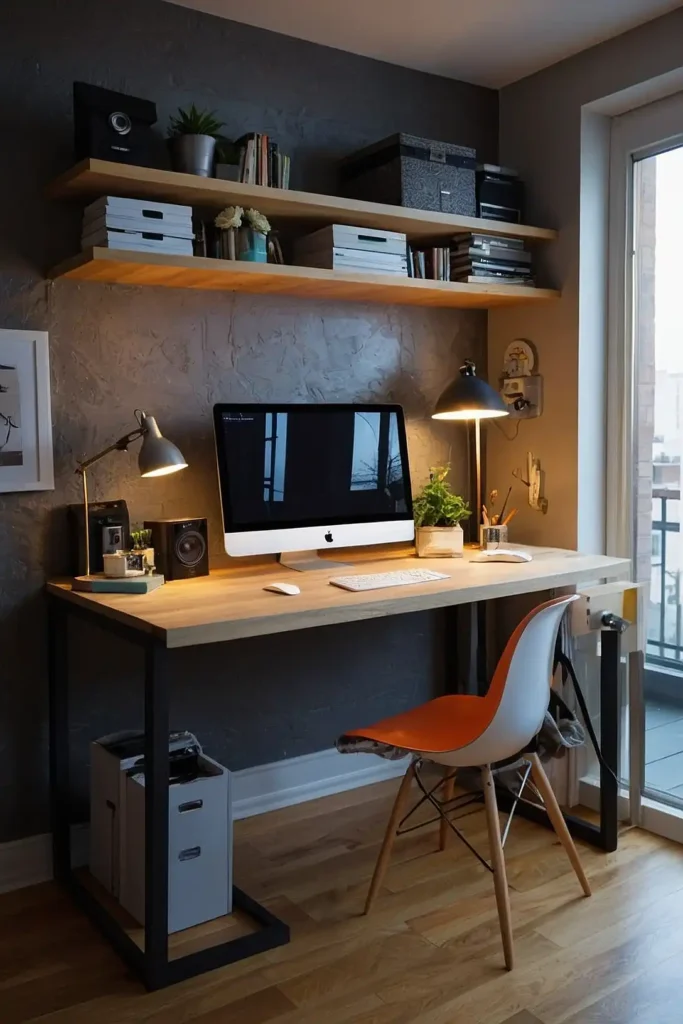
Install a wall-mounted desk or fold-down table that can disappear when not in use.
This space-efficient solution creates a dedicated work area without permanent floor space commitment.
Add wall shelving above for office supply storage and organization.
The vertical approach keeps your workspace contained in a specific zone while allowing the area to serve other purposes when work is done.
19: Circular Traffic Pattern
Design your furniture arrangement to create a circular pathway around your studio that naturally separates functional zones.
This flow-focused approach improves movement through the space.
Leave approximately 30 inches of clearance for comfortable navigation.
The continuous path creates a sense of journey through different “rooms” within your studio while preventing dead-end arrangements that make spaces feel smaller.
20: Breakfast Bar Division
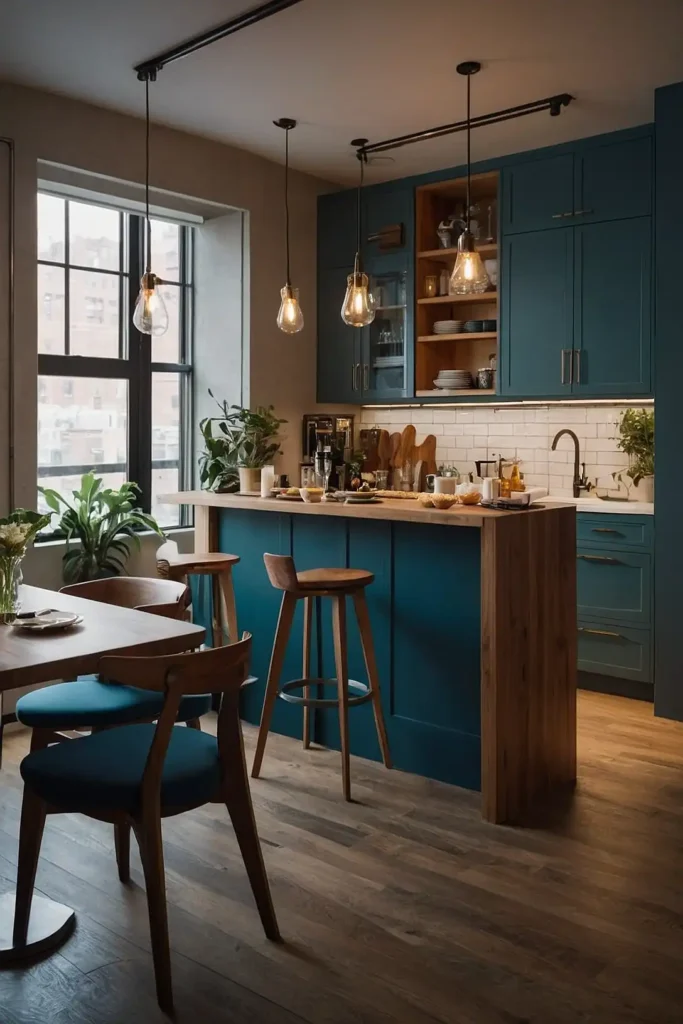
Install a narrow counter-height table or wall-mounted bar between kitchen and living areas to create a dining space that also acts as a boundary.
This practical division serves multiple functions.
Add stools that can tuck completely underneath when not in use.
The elevated dining surface clearly separates cooking from living zones while providing essential eating space that doesn’t permanently consume floor area.
21: Defined Entry Zone
Create a small foyer area near your door with a narrow console and wall hooks to establish a transition between outside and living space.
This entrance zone psychologically separates your home from the outside world.
Add a small bench or stool for removing shoes and a catchall dish for keys.
The designated entry area prevents your entire studio from feeling like one undifferentiated space and provides practical landing spots for everyday items.
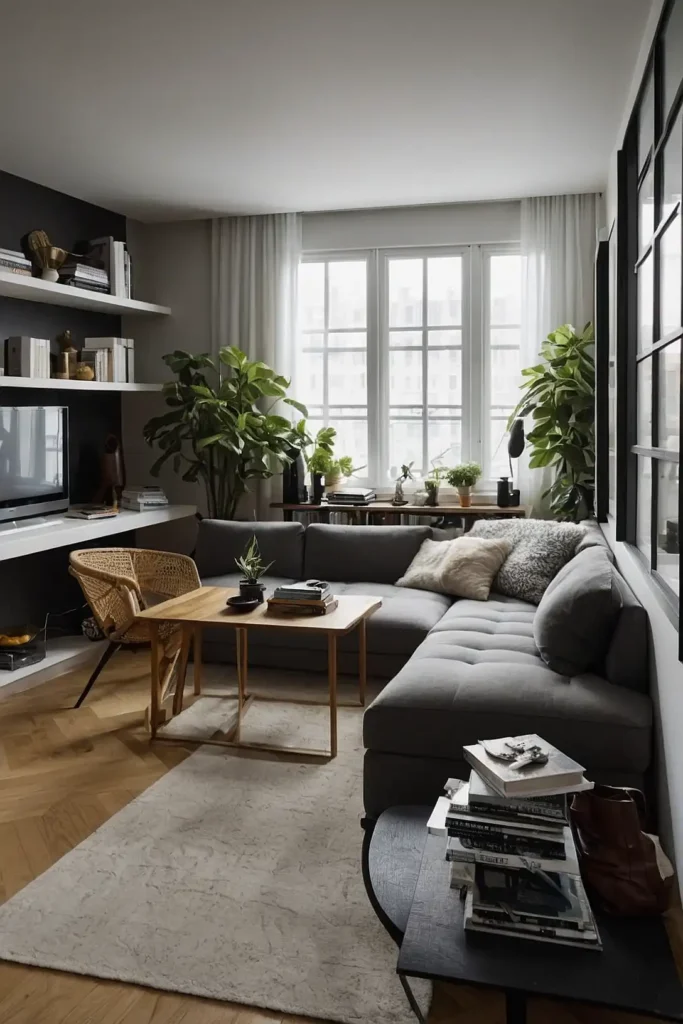
22: Corner Sectional Anchoring
Position a small L-shaped sectional in a corner to define your living area while maximizing seating in minimal space.
This arrangement creates a natural gathering place with clear boundaries.
Orient the sectional to face the rest of your studio for openness or toward a wall-mounted TV for focus.
The L-shape naturally carves out a distinct living room zone while the corner placement efficiently uses often-underutilized corner space.
23: Full-Length Mirror Placement
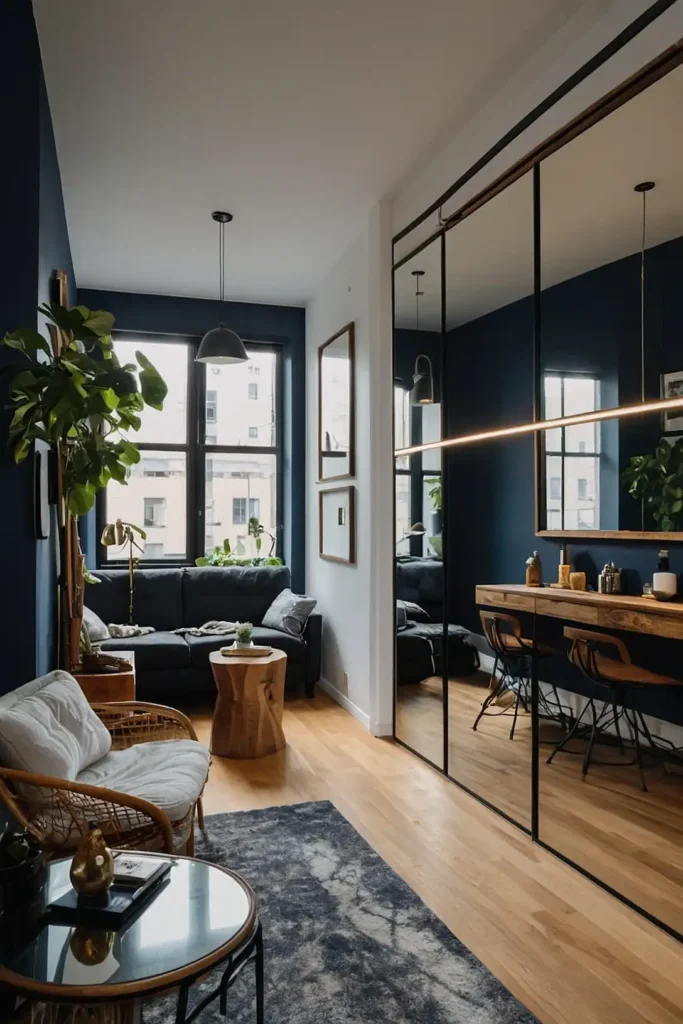
Install strategically placed full-length mirrors to visually expand your space and reflect light throughout.
This optical technique makes your studio feel significantly larger than its actual dimensions.
Position mirrors to reflect windows or attractive views for maximum impact.
The reflective surfaces create the illusion of continued space beyond your walls while bouncing natural light deeper into your interior.
24: Glass Partition Installation
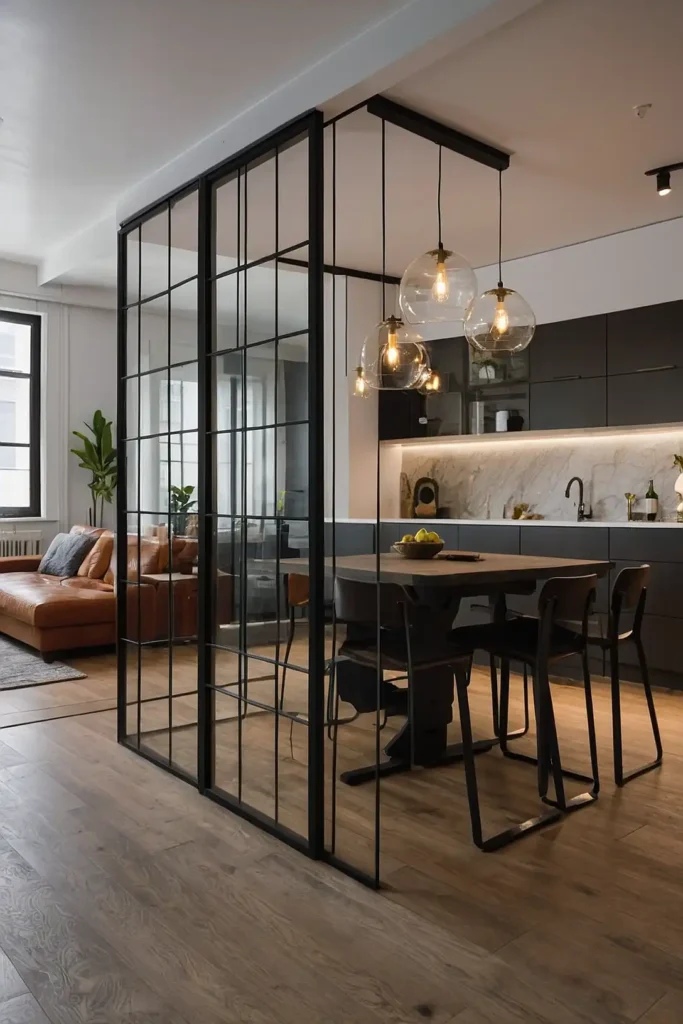
Erect a partial glass wall or room divider that maintains visual continuity while creating physical separation between areas.
This architectural element adds sophistication while preserving openness.
Choose clear glass for maximum light transmission or frosted panels for more privacy.
The transparent barrier creates distinct zones without the heaviness of solid walls, allowing your studio to feel both divided and spacious simultaneously.
25: Nested Furniture Approach
Select tables and seating that can nest or stack when not in use to maintain flexibility in your layout.
This adaptable approach allows your space to transform for different activities.
Choose side tables that slide under sofas or stacking stools that disappear when not needed.
The ability to expand or contract your furniture footprint allows your studio to accommodate everything from solo living to entertaining guests.
26: Symmetrical Balance Layout
Arrange furniture symmetrically around a central axis to create a sense of order and intentionality in your studio.
This classical approach makes small spaces feel more deliberate and less cramped.
Place matching lamps, pillows, or art pieces to reinforce the symmetry.
The balanced arrangement creates a feeling of harmony that makes your studio feel thoughtfully designed rather than randomly arranged out of space constraints.
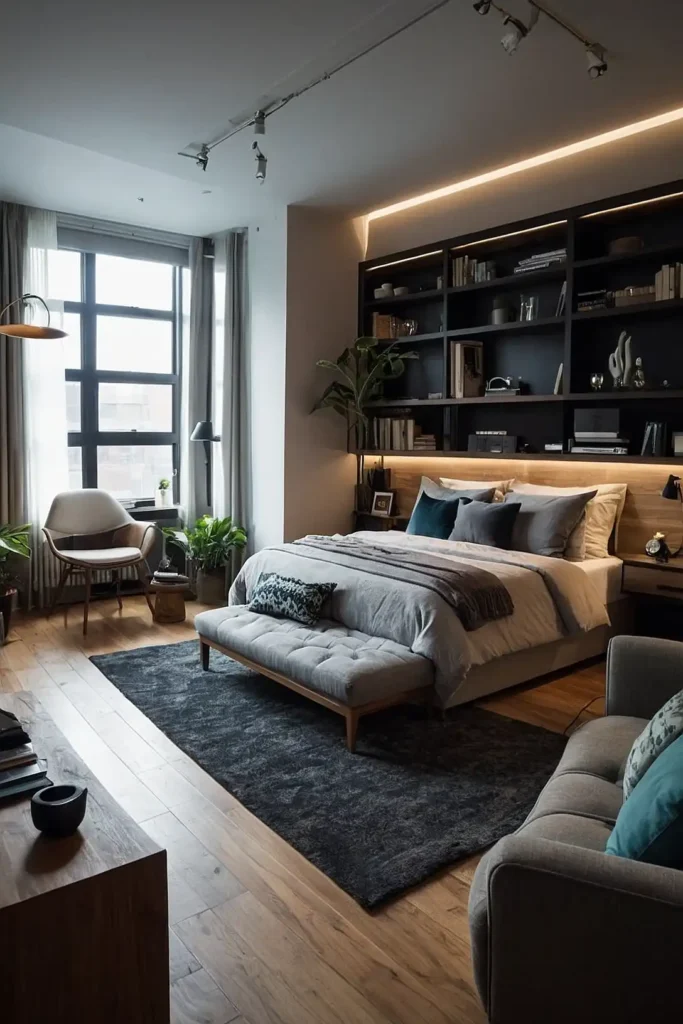
27: Vertical Zoning System
Divide your studio conceptually into vertical zones with different lighting schemes for each functional area.
This approach uses light rather than physical barriers to define spaces.
Install pendant lights over dining areas, task lighting at workspaces, and soft ambient lighting in relaxation zones.
The varied illumination naturally guides how each area feels and functions without requiring physical dividers that consume precious floor space.
Conclusion
Your studio apartment holds tremendous potential with the right layout strategy.
Start with the functions you need most, then choose an arrangement that serves those priorities while creating visual harmony and flow throughout your compact but complete home.